

The worst part of a contamination event isn't the failed result. It's the hour after — when three people are standing around a bench arguing about whether it's the reagent, the pipette, the operator, or a real signal — and nobody wrote down the timestamp of the first anomaly. By the time someone decides to swab something, half the surfaces have been cleaned, the tips are in the trash, and the "investigation" is already contaminated by the response to the contamination.
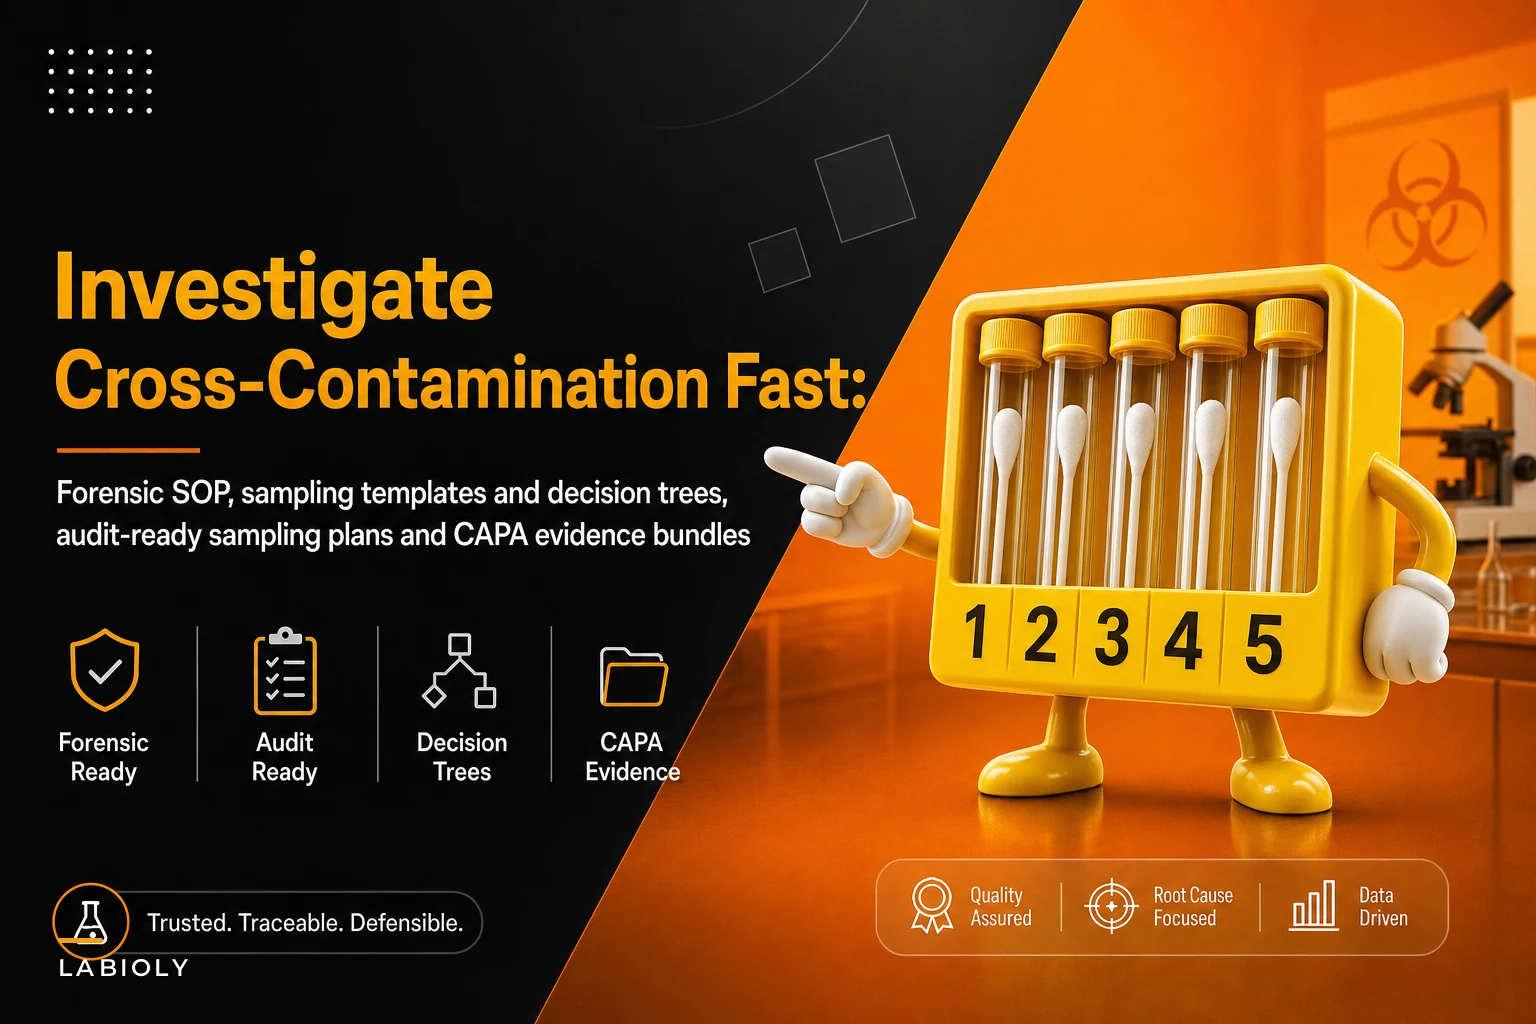
A proper cross contamination investigation SOP for a lab is basically forensics. You freeze the scene, sample in a defined order, follow the evidence toward the most likely vector, and produce a bundle that an auditor can read six months later without you in the room. What follows is the actual stepwise structure — not the theory of it.
Freeze the scene before you clean anything
The single most damaging reflex in labs is the urge to fix things the moment a contamination signal appears. Someone sees growth in a no-template control, or a spurious band, or an unexpected peak, and their instinct is to bleach the hood and re-run. That instinct destroys your entire investigation.
-
Stop the affected workflow. Don't run more samples through the suspect path.
-
Photograph the workspace as-is — hood interior, tip boxes, waste, reagent positions, the instrument deck.
-
Quarantine every consumable and reagent aliquot that touched the affected run. Bag and label, don't discard.
-
Record exact timestamps
when the anomaly appeared, when the last clean run passed, who was at the bench.
That window between the last clean result and the first contaminated one is your investigation's most valuable data. It brackets when the vector was introduced. A common pattern: a lab discovers contamination on Thursday, but the last documented negative control passed on Monday. That's a three-day window with four operators and two reagent lots — and nobody can narrow it because the intermediate controls weren't logged. If your control cadence is loose, your investigation window is enormous before you even start.
Build the decision tree around likely vectors, not around blame
Most failed investigations chase the wrong thing first because the team defaults to whatever's easiest to accuse — usually the newest person or the newest reagent. A forensic approach ranks vectors by base rate and by what the signal pattern actually tells you.
Eliminate lab bottlenecks and errors.
Labioly helps you monitor, manage, and report lab activities efficiently and compliantly.
- Real-time sample tracking
- Inventory and supply alerts
- Staff workflow coordination
No credit card required
| Signal pattern | Most likely vector class | First-line evidence to pull |
|---|---|---|
| Contamination in NTC only, sporadic | Aerosol / workspace surface | Hood swabs, pipette barrels, tip box lids |
| Contamination tracks one operator | Technique / dedicated equipment | Personal pipette set, glove change log, workflow order |
| Appears after a specific reagent lot | Reagent / master mix | Lot retention samples, prep records, aliquot history |
| Cross-sample carryover in sequence | Instrument / deck / robotics | Instrument surfaces, wash steps, deck adapters |
| Sudden, widespread across benches | Shared stock or environmental | Water source, shared buffer, HVAC / incubator |
The point of the tree isn't to be exhaustive. It's to force the team to name what the signal shape implies before they start swabbing everything randomly. A signal that only ever appears in the no-template control behaves very differently from one that follows a specific operator across three instruments. Those two patterns should send you down completely different sampling paths — swab everything at once and you lose the diagnostic value of where you found the hit.
Worth internalizing: contamination that correlates with a reagent lot change but appears only intermittently is almost always an aliquoting or prep-station issue, not the bulk lot itself. Truly contaminated bulk reagent tends to fail consistently. Sporadic failures point at the human step between the bulk container and the reaction.
The environmental and instrument sampling plan
Once the tree points you at a vector class, you sample with a plan — defined locations, defined swab technique, defined controls. Random swabbing produces uninterpretable results because you have no denominator and no reference.
-
Point-of-use surfaces — hood floor, hood back wall, deck of the instrument, immediate bench.
-
Handling touchpoints — pipette barrels and plungers, tube racks, tip box lids, freezer door handles feeding this workflow.
-
Shared intermediates — communal buffers, water bottles, wash reservoirs, ice buckets.
-
Reference/negative sites — a clean bench in a different room, run with identical swab and detection method.
That last one is non-negotiable and the one most labs skip. Without a negative reference site processed the same day with the same swab lot and the same detection assay, a positive swab tells you nothing — you can't distinguish a real hit from swab-lot contamination or an over-sensitive detection method.
Photograph each swab site before sampling to preserve spatial context for later review.
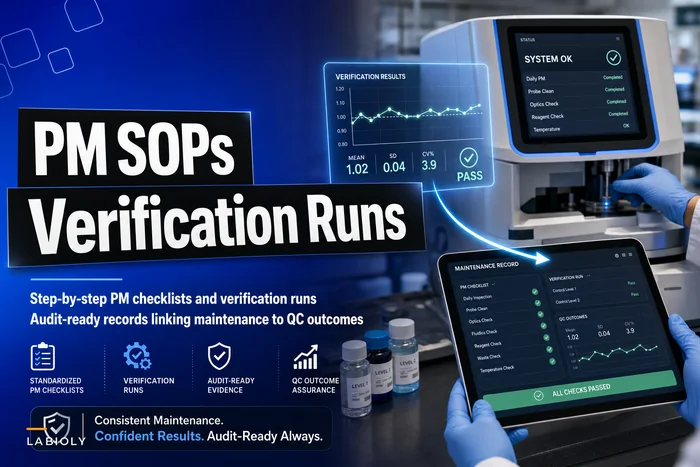
For instrument sampling, the sequence matters as much as the location. Sample the deck and shared surfaces before any cleaning cycle, then run a defined verification set afterward. This mirrors the logic in a good preventive-maintenance program — the instrument PM SOP with verification runs approach applies directly here: you don't just clean and hope, you clean and then prove clean with a controlled run before the instrument goes back into service.
Diagram of the sampling workflow:
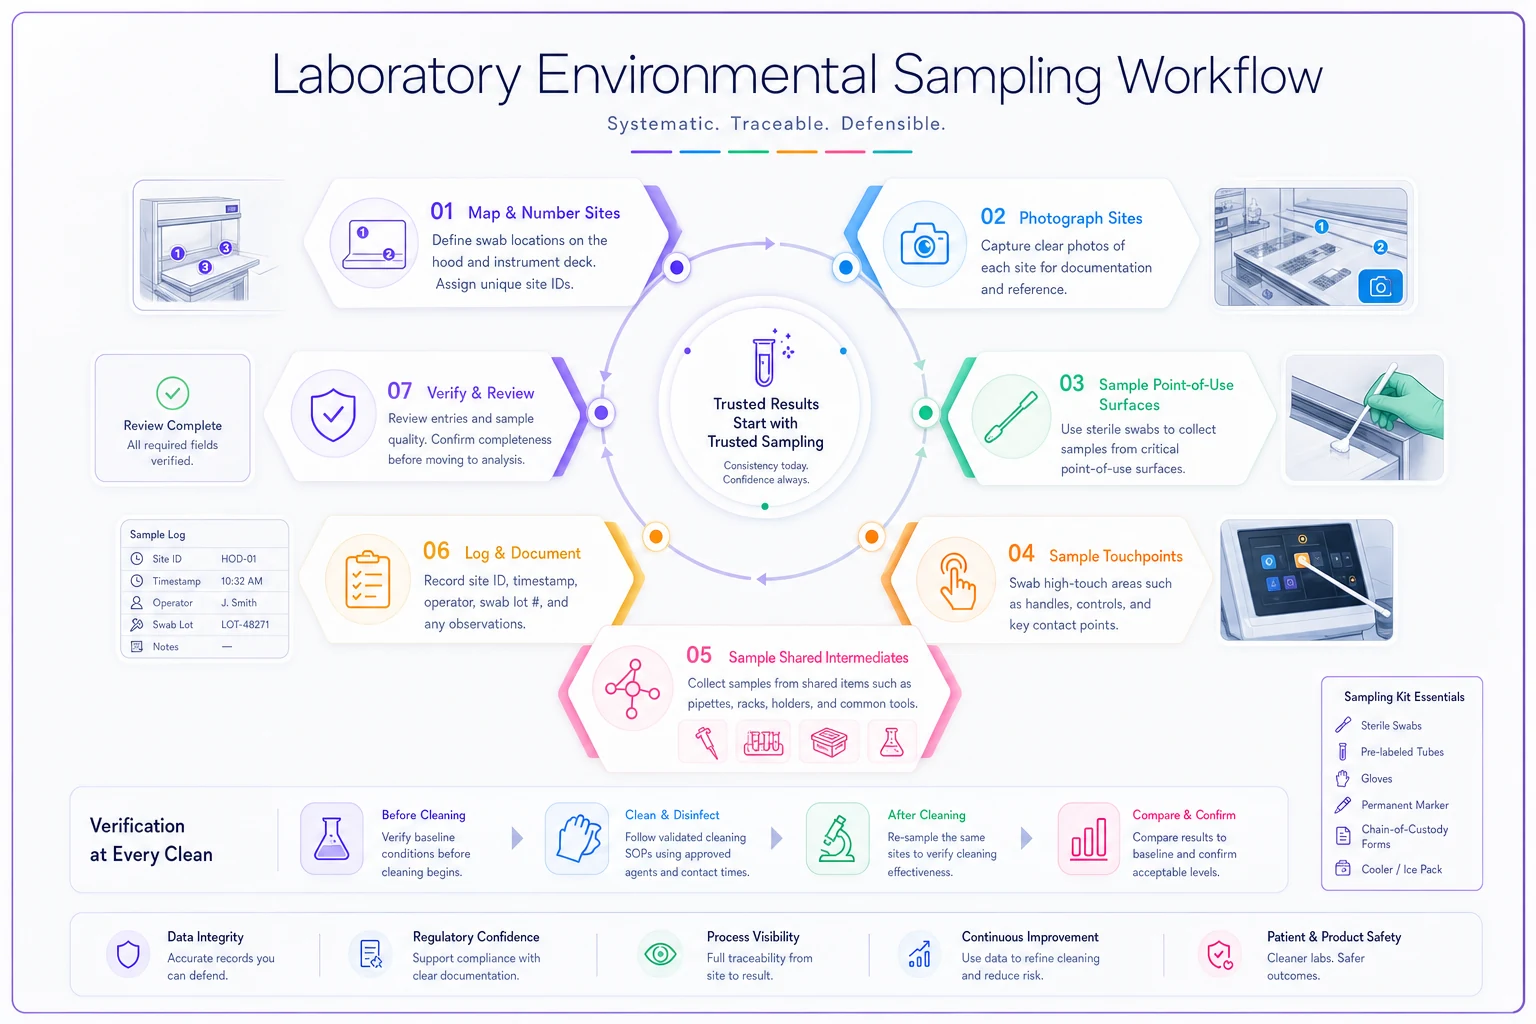
Number your swab sites. Log each as: site ID, timestamp, operator, swab lot, detection method, result. If you can photograph each site before swabbing, do it. Six months out, "hood back left corner, site H-04" is defensible. "Somewhere in the hood" is not.
Sampling depth: how many, and when to stop
A frequent mistake is either sampling one of everything (too shallow to localize) or swabbing 40 sites in a panic (too broad to interpret and too expensive to repeat). Match your depth to the vector class the tree flagged.
For a single suspected operator path, roughly 8–12 well-chosen sites usually localizes the vector. For a suspected shared-stock or environmental event, you need broader coverage — often closer to 20–25 sites — because the whole point is mapping the spread. Going wider than that rarely adds diagnostic value; it mostly just adds noise and turnaround delay.
Set your stop rule in advance: you stop expanding when you've either (a) found a positive site that explains the original signal and confirms on a repeat swab, or (b) exhausted the vector-class site list with all-negatives and need to move to the next branch of the tree. Deciding this up front stops the investigation from ending too early on a convenient answer or dragging on for two weeks.
Reading the results without fooling yourself
Detection sensitivity cuts both ways. A method sensitive enough to catch the original contamination will also light up on trace amounts that aren't operationally meaningful, and a method that's too blunt will miss the real vector. Your sampling detection method should match — or be more sensitive than — the assay that caught the original problem. If contamination showed up in a sensitive qPCR but you're confirming with a much less sensitive readout, negatives don't clear anything.
Watch for the "clean" positive that doesn't fit the timeline. If you find contamination on a surface that wasn't in use during your bracketed window, it may be a real but unrelated background hit — not your vector. Cross-check every positive against the timeline you froze at the start. Evidence that can't fit the window is a lead, not a conclusion.
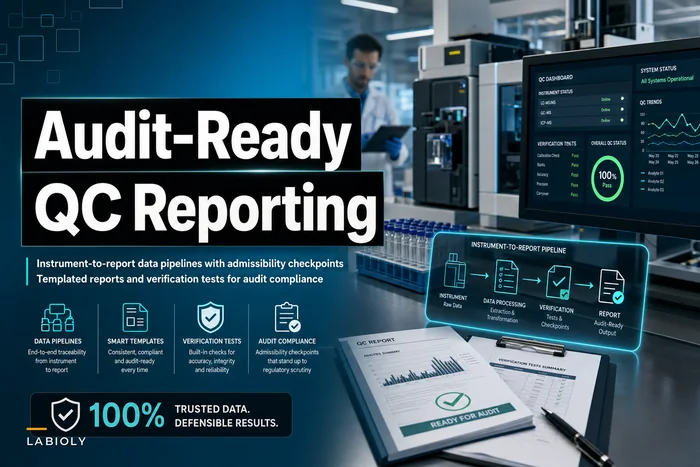
This is also where consistent, machine-readable result capture matters. The same discipline that makes QC reporting pass audits — structured fields, verification checks, no free-text-only records — is exactly what lets you correlate swab results against run timestamps and lot histories without spending a full day on the correlation step alone. When results live in scattered notebooks and photos on someone's phone, that step gets ugly fast.
From root cause to a CAPA bundle an auditor will accept
Finding the vector is only half the job. The CAPA is what closes the loop, and it's where most bundles fall apart under audit — because the "corrective action" is a one-line note like "cleaned hood, retrained operator" with no verification that either actually worked.
-
Event summary — what triggered it, the frozen timeline, the last clean control.
-
Investigation record — the decision tree path taken, sampling plan, numbered site results, photos.
-
Root cause statement — the confirmed vector, with the evidence that confirms it and the leads that were ruled out.
-
Corrective action — what was fixed immediately, with verification runs proving the fix worked (not just that it was performed).
-
Preventive action — the process change that stops recurrence
tighter control cadence, dedicated equipment, revised aliquoting step, added negative-reference swabs.
-
Effectiveness check — a defined follow-up point (e.g., clean controls across the next N runs) with the actual results attached later.
The distinction auditors care about most: corrective addresses this instance, preventive addresses the class of failure. "We re-ran the batch" is corrective. "We added an intermediate negative control every 24 runs so the next investigation window is one day instead of three" is preventive. A bundle with only corrective actions signals to an auditor that you'll be back here again.
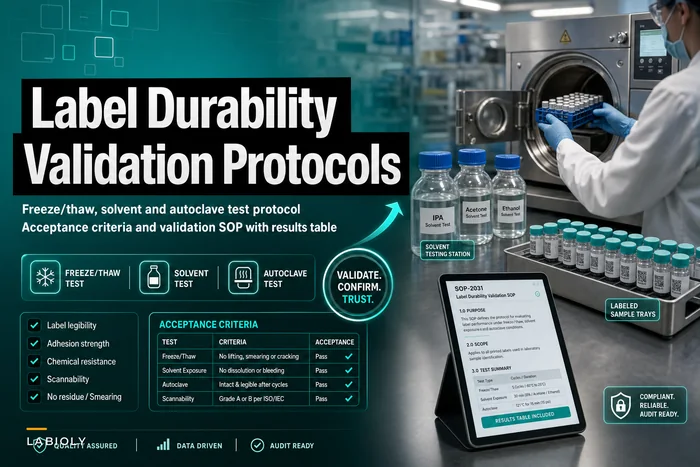
One preventive action worth flagging that gets overlooked: label and consumable integrity under your actual handling conditions. Contamination sometimes traces back to labels or tubes that degraded through freeze/thaw or solvent exposure, creating cross-contact at handling points nobody suspected. If that's plausible in your workflow, the checks in validating labels for extreme lab conditions belong in your preventive branch.
A real scenario: the intermittent NTC hit that took three days too long
A mid-sized molecular core facility — somewhere around 30–40 runs a week across four benches — started seeing sporadic contamination in no-template controls, roughly one in every six runs. The first response was the usual: bleach everything, replace the water, re-run. It kept coming back.
The investigation had stalled because there was no frozen timeline. Controls were logged as pass/fail with no timestamps, so the team couldn't bracket when the vector entered. They were swabbing reactively, a few sites at a time, cleaning between attempts — which meant every round was destroying the evidence from the last.
Once they ran it as an actual forensic process — froze the next event, pulled a vector triage, and sampled 10 sites with a clean-room reference — the pattern resolved fast. The signal tracked to one shared pipette used for master-mix dispensing across two benches. Not a reagent lot, not operator technique. A single dedicated instrument that had quietly become communal.
Before the structured approach, they'd burned close to three weeks and somewhere in the range of $4k–$6k in repeated reagents, re-runs, and lost instrument time. The structured investigation took about a day and a half from freeze to confirmed root cause. The preventive action was almost embarrassingly small — a dedicated, labeled master-mix pipette per bench and a logged intermediate control every shift. The real win was that the next investigation would start with a one-shift window instead of an open-ended one.
When a full forensic investigation is overkill
Not every anomaly deserves this whole process. A single isolated NTC hit that doesn't recur, with a clear one-off explanation, doesn't need a 10-site sampling plan and a full CAPA bundle — that's how you drown a lab in paperwork nobody reads.
Reserve the stepwise process for events that recur, that put results or releases at risk, or that could plausibly affect more than one project. Where it becomes non-negotiable: regulated work, shared core facilities where one vector touches many groups, and any event where you'd have to explain yourself to a sponsor or auditor. In those settings, the bundle isn't bureaucracy — it's the only thing standing between "we investigated and fixed it" and "we cleaned the hood and hoped."
The through-line across every contamination event worth investigating is the same: the quality of your answer is capped by the quality of your scene preservation. If you clean before you sample, log without timestamps, or swab without a reference, no amount of downstream analysis rescues it. Get the first 15 minutes right, follow the vector the signal actually points to, and prove your fix worked — that's the whole discipline.
Ready to upgrade your lab operations?
Join 500+ labs using Labioly to save time, reduce errors, and enhance productivity and compliance.